Are you Team Wallpaper or Team Paint? Once upon a time I dabbled in vinyl wallpaper for use in a nursery, but otherwise I have been firmly in the paint camp. That is, until after months of talking about it, I decided to finally pull the trigger and choose a wallpaper pattern for my office. One Friday afternoon and several cups of coffee later, I am so happy I decided to finally commit to this home decor trend. I am in L O V E!

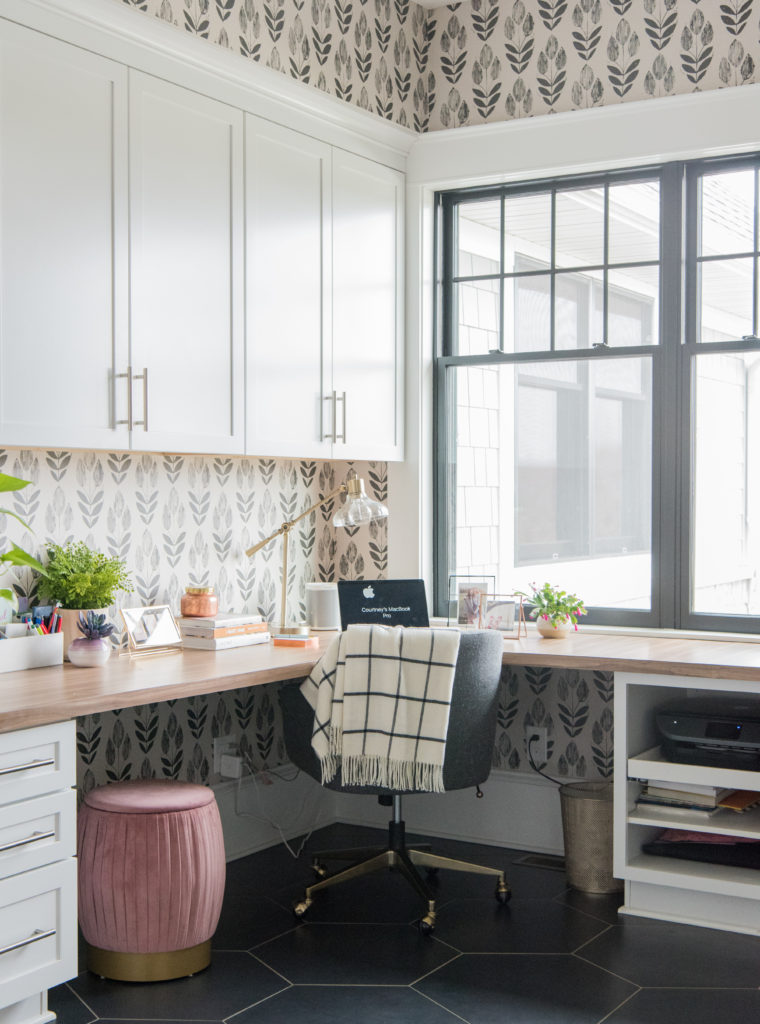
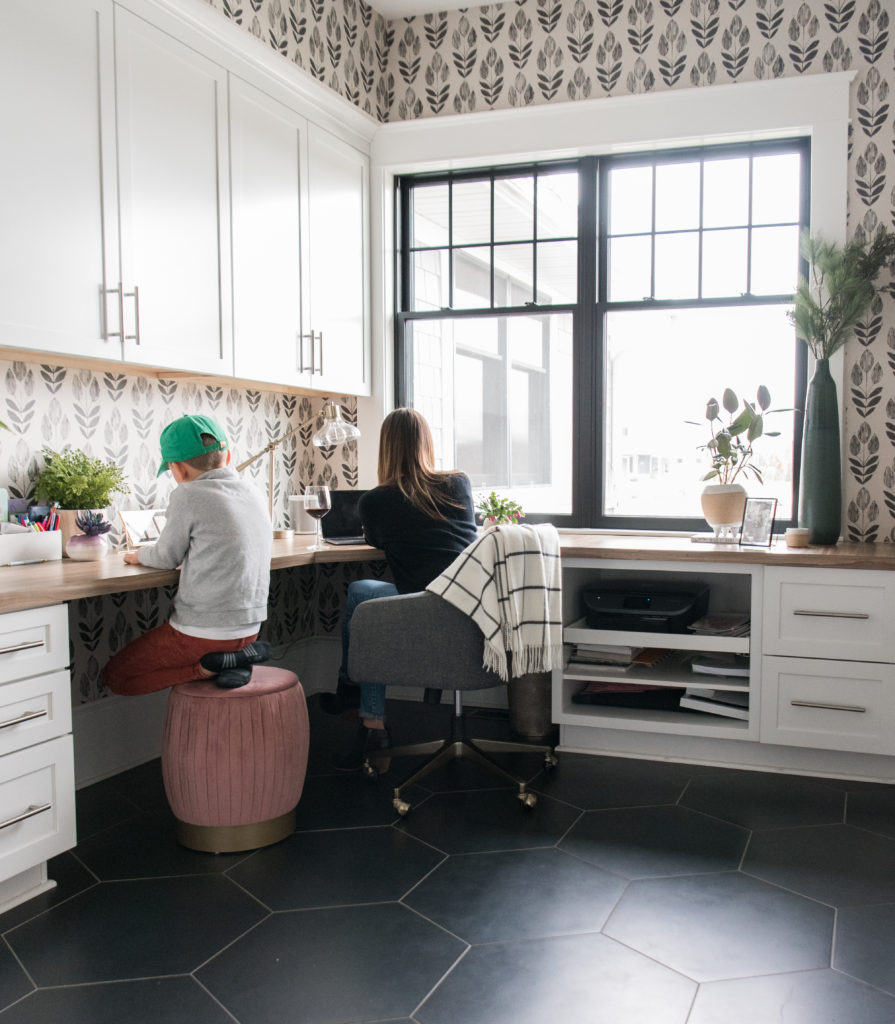
The “before” view of my office was certainly not bad, but it never felt truly decorated to me. Because it was pretty plain and stark, I ended up trying to fill the wall space with a poorly printed gallery wall of photos that never felt quite right, and the white cabinets blurred into the creamy paint color and everything just sort of felt milky.
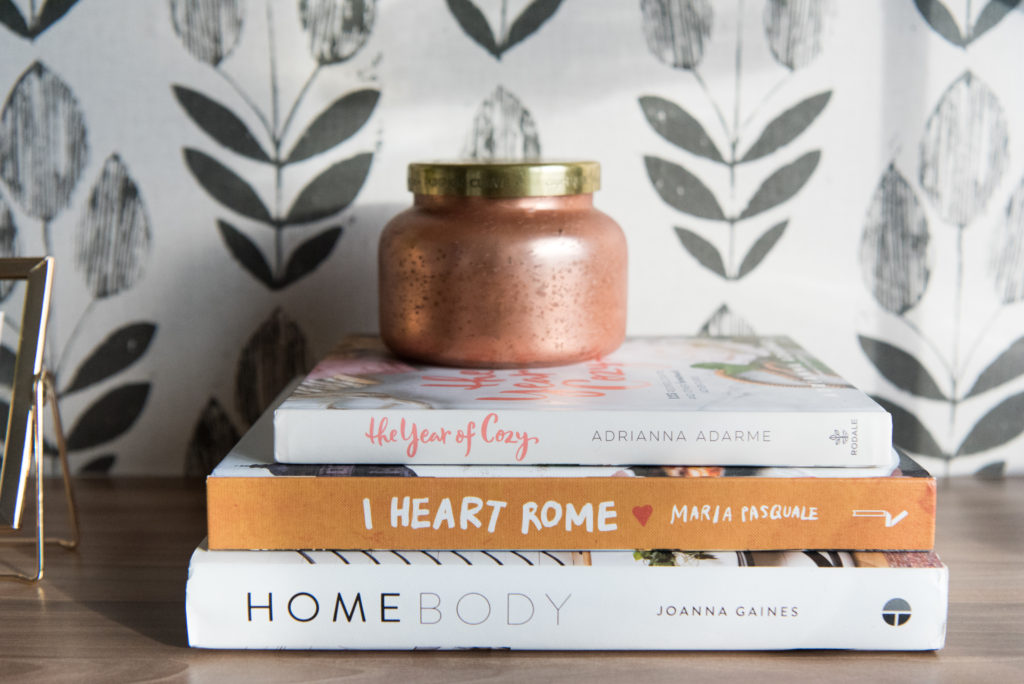
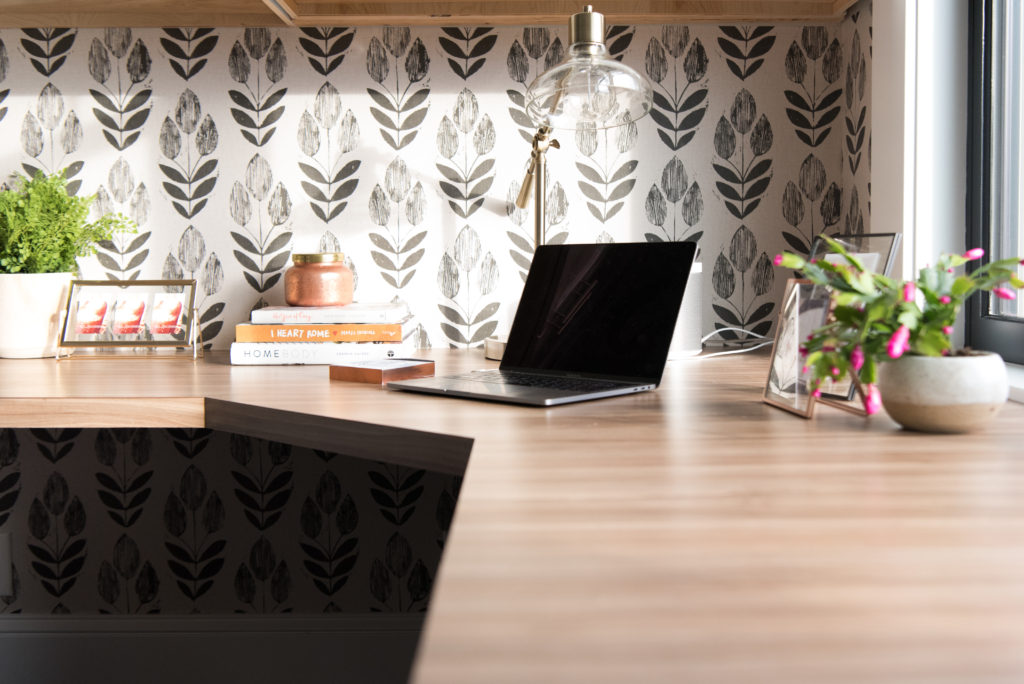
It definitely took me some research to find the right wallpaper for the space. With the bold geometry of the hexagon floor tiles, I knew I wanted to steer clear of geometric patterns and opt for something more botanical, but I was having a really hard time finding something that felt just right. I finally typed in a search for Scandinavian Wallpaper (so random, who knows what led me down that path) and found this on AMAZON of all places (why should we act so surprised… Amazon has everything).
If you’ve never hung vinyl adhesive wallpaper, I don’t have much in the way of advice for you, but I will tell you a few pointers:
- Do as I say and not as I do: MEASURE. I got really super insanely lucky and ordered exactly as much as I needed. Beginner’s luck, truly. The pattern I chose followed a repeat that meant unfortunately, I had a decent amount of waste in order to make all of my seams line up just right. I don’t know that I’m smart enough to have been able to calculate that anyway even if I was a super thorough contractor, so for once being a hack didn’t hurt me too badly. But as I said… do as I say, not as I do.
- Buy yourself a suuuuuuper sharp utility knife and a t-square for cutting your paper. Straight lines are either going to make or break your project and will determine if you are successful or if you room looks botched.
- Choose a pattern that you feel you can easily match the seams as you hang sheet after sheet. What I mean is, if there are a million little lines or geometry that must perfectly intersect to look right, that might be a little aggressive and require a lot of sticking and re-sticking. But if you give yourself a pretty forgiving pattern (like mine) perfection isn’t really required. A little irregularity here or there is basically unnoticeable.
- If you’re wallpapering under a countertop, make sure your lines are consistent with the lines above the countertop. The goal here is to make the eye believe this is all one continuous sheet of paper, right? So keep that pattern consistent the entire height of the room.
- And finally, try to avoid outside wall edges. What I mean is, if the paper is going to be adhered to an exterior corner where its edge will be exposed, it will take a lot more wear and tear than if it’s on an interior corner where it butts up against a wall. (Hopefully that makes sense, it’s a hard concept to convey, but look at the wall where I dead ended my paper as an example). Even though this only took a few hours of my life to accomplish, I don’t want to redo it any time soon, so longevity was definitely a goal of mine.
What do you think of the wallpaper trend? I could get addicted, I think. Are the 90’s upon us?! I remember the house I grew up in was FULL of wallpaper. I’m all for it in these smaller spaces. If you’ve every considered it, start small and simple – for minimal investment (my overall cost for the wallpaper in this room was under $100!) you can experience a major glow up in your space.
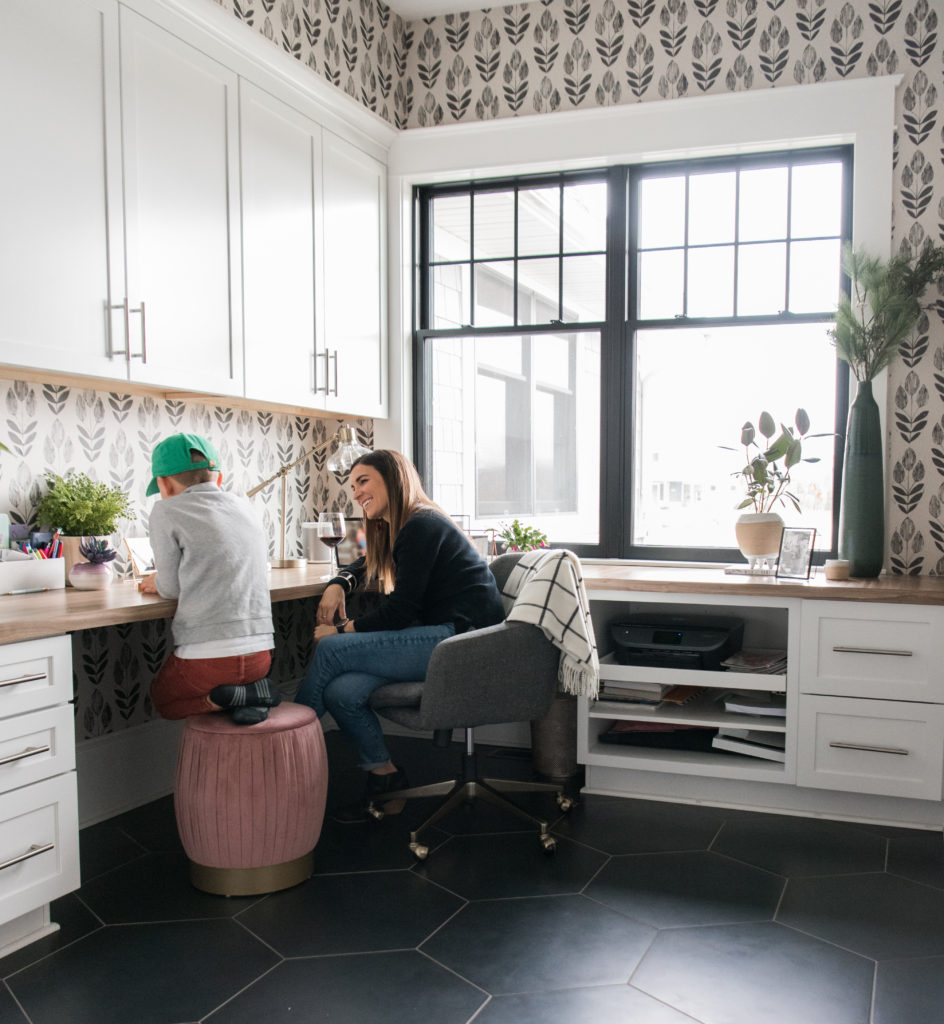
My office feels like a sophisticated, adult space now, and I’m so excited to create and work in this room.
Shop this post
