I’m not going to lie, I have gone through every imaginable emotion and attitude during these last few weeks as we navigate the Covid-19 pandemic. I’ve felt ambitious and I’ve felt lethargic; I’ve been full of joy and full of sorrow; inspired and numb. I’ve finally reached the point where I’m enjoying most aspects of being safe at home with little to no outside existence. It’s isolating, for sure, but I’m so grateful for the safety of this haven and as we tackle projects and activities, I’m learning to be ever more resourceful with things I have (whether in the kitchen, in the “classroom” or in decorating).
Today’s post is all about tackling and reimagining common spaces in your home to make it feel new and exciting. I get it – we’ve been sitting within these walls for weeks now with, honestly, no end in sight (at least here in Michigan, our shelter in place order keeps getting pushed back it seems). I think refreshing your shelves is such a fun and high impact way to make something old feel new again. I have a few very practical steps that I think you might find helpful, and I am SURE you can do most if not ALL of this redecorating with items you already own.
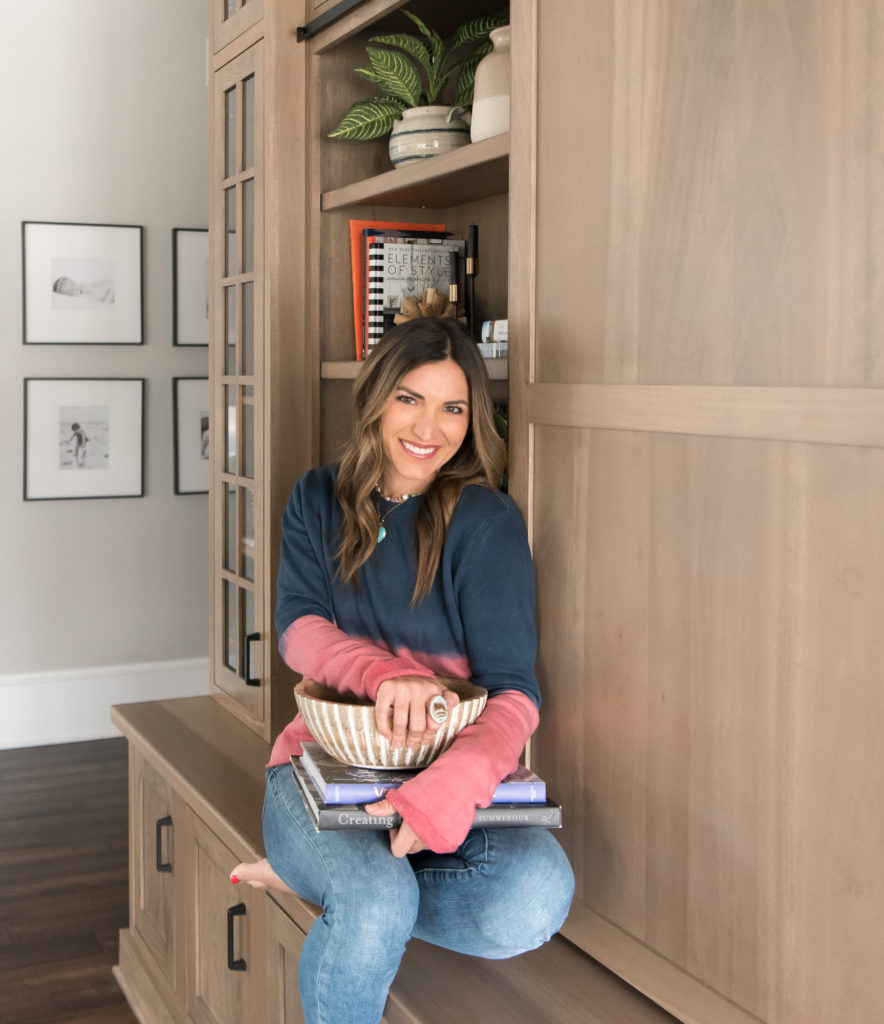
My background is in retail, specifically retail merchandising and buying, so redecorating shelves is old hat for me and something I used to do daily while on the job. I miss those days sometimes, so I play with my own shelves when I start to get the bug. There are a lot of rules and theories from visual merchandising that can crossover into decorating your home. From color to object scale, there is a method behind the madness, but the beautiful thing is that you can work with so many different articles and objects to make them tell a cohesive story by just following a few simple rules.
A few rules of thumb:
- Pick your color story. When I worked in retail merchandising, we used color, texture and different styling elements to make themes across our shelving units. On any given shelf, I try to find a theme of colors, within 3-5 tones, and tie them in to the design in a geometric arrangement (more on that later).
- Categorize your objects before you style.
- Heavier items on the bottom to ground your design.
- Disperse items of varying scale so it maintains balance.
- Don’t overuse too much of the same type of item.
Let’s break down those concepts in a little more detail, shall we?
1. Color
When I was gathering my items, I honed in on about 4 colors that were most prevalent; a natural wood tone, a desaturated earthy green, black, and rust/terra cotta. By keeping the majority of my styling elements to these few categories, I’m able to create a very cohesive story in my shelving unit. Let’s take a deeper dive into how those colors are arranged and dispersed to allow the eye to move easily across the unit.
As you can gather, there are some notable triangular themes to how these items are placed. Let’s focus on black first. The hardware on the shelving unit, the black taper candles and the black picture frame all form a triangle. This allows the eye to move easily across the bookshelf without landing on an area that is too heavily saturated in any one color. Let’s move on to the rust color, which appears in the planter, the book spines and the clothing colors in the family photo. Again, we have a triangle pattern of the appearance of the colors, and it is repeated enough times to make it a theme color. Helpful hint: Speaking of the family photo, as a former photographer of families, I always encourage people to consider their decor when choosing the outfits for their family photos; if you’re going to hang your photos in your home, you want them to match your decor! Most families pay decent money for annual family photos, and you want those to be able to blend into your home well so they can have a prevalent place for display without clashing with your decor.
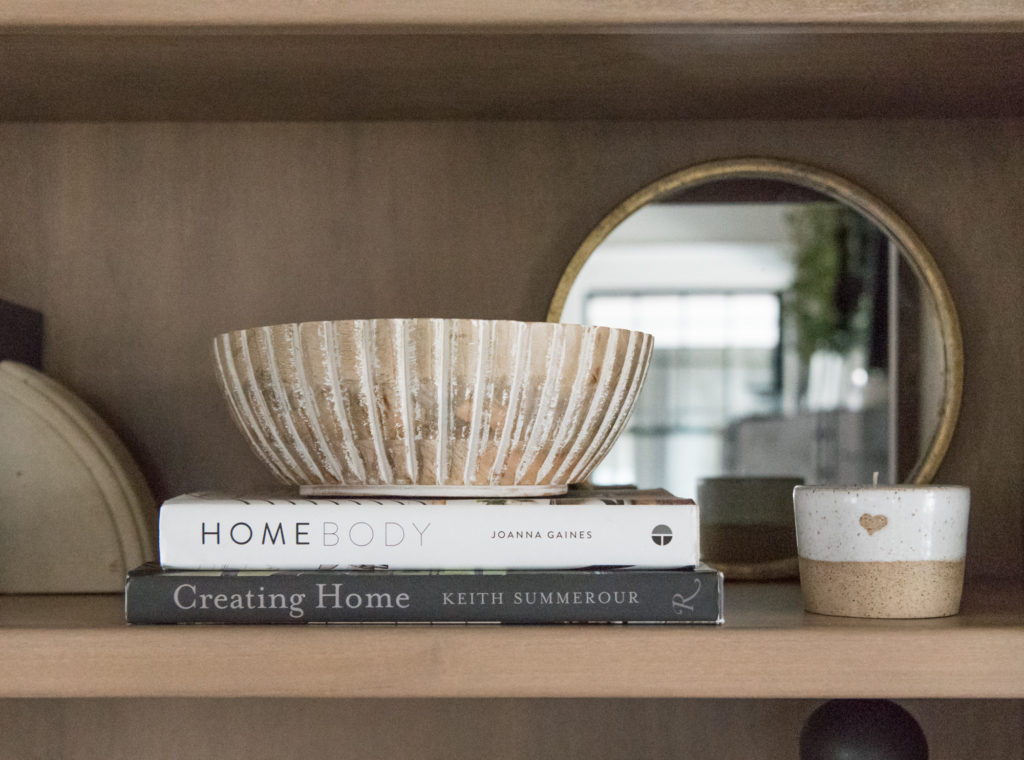
2. Weight + Balance
As you begin to place your items, take their weight and scale into consideration before haphazardly placing them on the shelf. I recently purchased these two wooden bowls to balance out the bottom of my two shelves. Since the unit in my living room is symmetrical but the shelves are all unique, I thought balancing them out with one identical shelf gave the unit some weight, grounding it almost like an anchor. Moving up from the bottom shelf, I’ve opted to somewhat taper the size of my objects with the largest near the bottom shelves. The closer you get to the top, the lighter the items get, including light and airy plants. Speaking of plants…
3. The rule of plants
Plants and botanicals are an amazing shelf filler. They bring a super organic and earthy element to your home which makes it feel alive. I have a ton of houseplants in my home and in this very room that are very much alive and thriving. But on my entertainment unit I opt for all artificial. This is the ONLY place I have artificial plants in my home, because I subscribe to an 80/20 theory with plants. If 80% of your plants are real, people won’t think twice about the 20% that are fake, and may even assume they’re real because they see all the other real botanicals throughout your home. If you have a black thumb, though, there are tons of great options for fake botanicals. Mine are from Hobby Lobby so nothing special AT ALL, but I have made special efforts to put them in handmade and organic looking vessels to give them a more special look than the (ugly) bases they came in.
4. Don’t be redundant
Before you begin to style your shelf, lay out every single thing that might go on the shelf. But don’t stop there. Once it’s all laid out, categorize it all. For instance, my categories ended up looking something like this: PHOTOS, PLANTS, BOOKS, CANDLES, OBJECTS. “Objects” is a pretty nebulous category and can be further broken down but basically for me, this included everything from small sculptures to book ends and bowls.
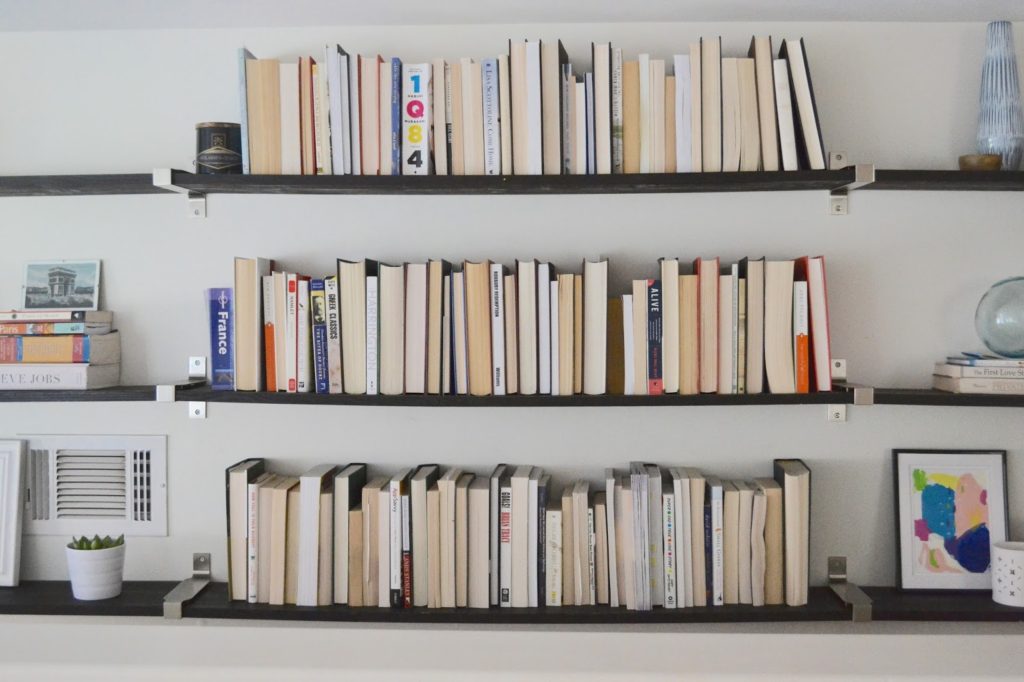
When you begin to place your items, tackle an entire category at a time. This helps you to make sure it all gets spread around evenly without large, heavy clusters of similar items. There is nothing worse or less believable than when your shelf story includes too many redundant items. Exception to this rule: books. Books are meant to be clustered, and they look better in numbers. When I worked in visual merchandising, there was a theory that similar items sold better in clusters. They looked better together and people were more drawn to a shelf full of, for instance, neatly arranged candles than randomly placed candles scattered throughout the store. I would argue the same rule is true of books, so stack them, line them up, and show them off in groups. Like a library, this is how they were meant to be displayed. Check out this short clip of how I arrange items category by category.
5. Shop the house
Now more than ever, while we’re all at home, I urge you to get creative and shop your own home! While you’re at it, consider how a can of spray paint might give new life to an item you already own but that has fallen out of your taste. Just recently, I sprayed the base of a few pillar candle holders from shiny gold to flat black to better match my more matte aesthetic. I had grown to hate them, and was ready to drop them in the Goodwill dropbox, but a few coats of black paint gave them new life! Of course sometimes you just want to grab a new item, and that’s perfectly understandable as well, but don’t underestimate the power of shopping around the existing spots in your own home. Quick trick: books look good a variety of ways and they’re an excellent shelf filler. If you aren’t thrilled with the spines on the books you have or you wish they had a different vibe, try flipping them around and giving them a pages-out display. This look is more shabby-chic, but gives you a new amount of flexibility, especially if you’re holding off on doing any shopping.
I hope this post has given you the boost you needed to reimagine some spaces in your own home! Tackle your kids’ book shelves; redecorate your kitchen shelves; throw some new vessels and objects on your entertainment unit. It’s a small but mighty project you can do in your house in a short amount of time that will help your space to feel new even while we are spending so much time at home.

Stay safe. Stay healthy. Stay home.
SHOP THE POST
